As the gardening season beckons, the sight of your trusted pruning shears rusting away can be disheartening. Yet, there’s no need to replace these vital tools; with a bit of time, care, and the right approach, you can transform them from dilapidated to dazzling.
In this comprehensive guide, we’ll take you through a step-by-step journey of restoring your rusty pruning shears to their former glory. Whether you’re a seasoned gardener or just starting out, learning the art of rejuvenating these essential tools not only saves you money but also equips you with the knowledge to ensure your gardening tasks are performed with precision and efficiency.
Restoring your pruning shears to their former glory is a straightforward process that involves the use of common household items. Here’s how to do it step by step:
Materials Needed:
Large glass jar or casserole dish
White vinegar
Table salt
Baking soda
Multipurpose oil
Carbide sharpening tool or diamond file
Steel wool
Clean rag
Step-by-Step Restoration:
1. Disassembly:
If your pruning shears can be taken apart, start by removing the bolt that holds the blades together. This step isn’t obligatory, but it ensures the solution reaches all inner parts of the tool.
2. Rust Removal with Vinegar and Salt:
Begin by preparing a solution in a glass jar or baking dish. Fill it with white vinegar and add around 2 tablespoons of salt. Stir until the salt granules dissolve.
3. Submerge the Shears:
Place your pruners into the vinegar-salt solution, ensuring they are fully submerged. If needed, add more vinegar to cover the metal completely. Include the bolt and nut as well.
4. Soak and Bubble Action:
Allow the pruners to soak for 12 to 24 hours. During this time, you’ll notice bubbles forming on the rusted areas as the solution works its magic.
5. Rust Removal and Scrubbing:
After the soaking period, much of the rust will have loosened. You can scrub away the remaining rust using steel wool.
6. Neutralizing the Vinegar:
To counteract the vinegar’s acidity, immerse the pruners in a jar filled with water and around 2 tablespoons of baking soda. Leave them in the solution for about 10 minutes.
7. Drying:
Remove the pruners from the baking soda solution and let them air dry completely before proceeding.
8. Sharpening:
If your pruners are not severely rusted, you can clean them with soapy water instead of the vinegar solution. Scrub using a toothbrush to eliminate dirt, sap, and plant debris. Wipe with a clean rag and use steel wool to address light rust.
9. Sharpening the Blade:
Using a carbide sharpening tool or diamond file, sharpen the beveled edge of the blade. Match the tool to the angle of the bevel (around 10 to 20 degrees) and swipe it from the back of the blade to the tip. Repeat this process 4 to 5 times on each side of the blade.
10. Lubrication:
Apply a thin coat of multipurpose oil to prevent future rusting and maintain smooth movement. Rub the oil over the blades and moving parts using a clean rag. Work the pruners a few times to distribute the oil through the mechanism.
11. Final Touches:
Your pruning shears are now restored and ready for action. Test them out to appreciate the improvement in their performance.
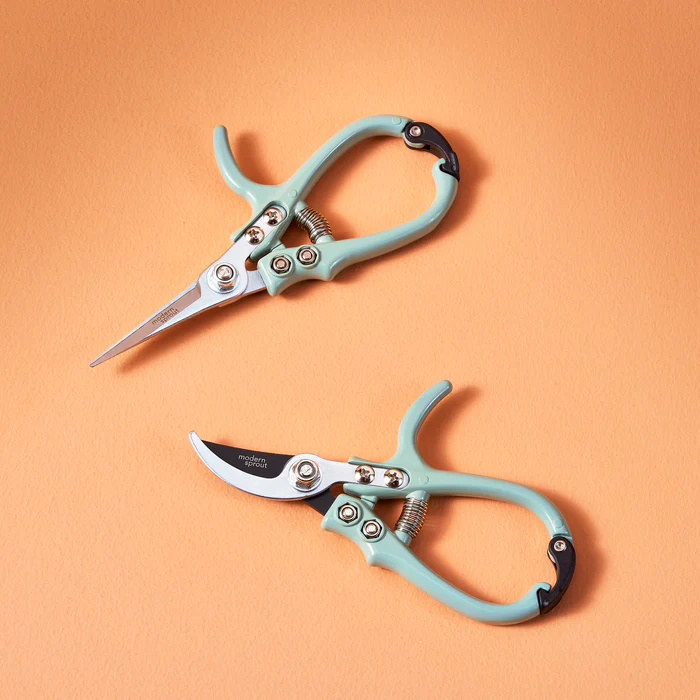
If you don’t wanna do all of this, then you can buy new ones like the ones we’re using. Got them for like 2 years now, and they’re pretty strong. Here’s a picture of them. We couldn’t recommend them more.